Pictures from Raspberry Pi's new camera add-on
- Published
- comments

At first sight, it must be just about the most useless camera you can possibly imagine. To take a picture you have to somehow hold it in one hand while typing a line of code with another and pressing return.
The device in question is an accessory for the Raspberry Pi, the cheap barebones computer aimed at getting children coding. And, on reflection, the sheer nightmarish complexity of making it work may be exactly the point.
The camera, which I've been testing for a couple of days, is all of a piece with the Raspberry Pi aesthetic - a tiny lens on a chip smaller than a postage stamp. The accessory, released today, is like the Pi itself in that it makes few concessions to modern expectations of consumer products that you plug 'n' play.
You connect it to a port on the Pi and start working out what to do next because it's not as if there's a button on it to press to take a picture, or even a pre-installed programme on the Pi desktop to operate the camera.

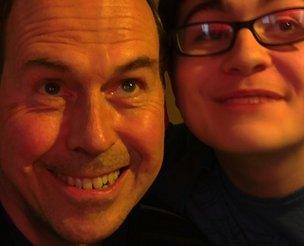
Dads can be so embarrassing
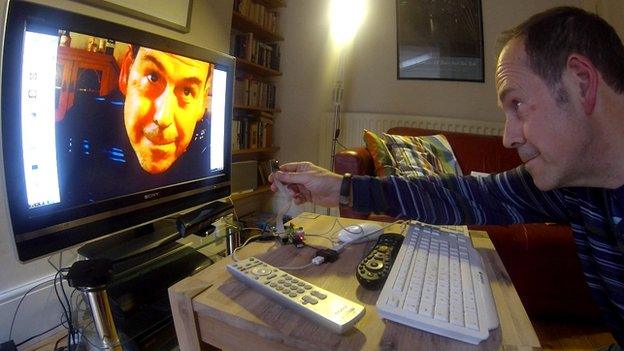
In my case, I emailed a few people in the Raspberry Pi community and got a list of instructions. You need to connect your mini computer to a monitor, start it up, then open a terminal window and type in this command: /opt/vc/bin/raspicam -o mypicture.jpg
A window opens on the monitor showing what the camera is seeing and, after what seems a random number of seconds, a picture is taken. Next, you have to work out where that picture - or video because another command allows you to record moving pictures - is stored. Then you have to work out how to get these files off the Raspberry Pi to somewhere you can edit or distribute them.
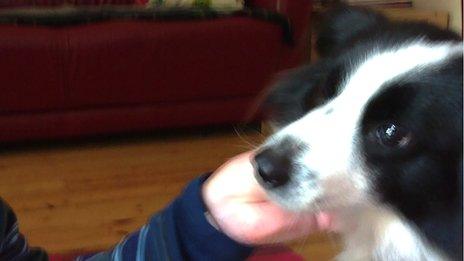
After a certain amount of cursing - and further consultation with a friendly Raspberry Pi guru - I managed to achieve this, saving a few pictures of myself, the dog and a somewhat reluctant 14-year-old son.
None of my Raspberry Pi photos were up to much and I won't be entering the Pi photography competition, external that has been launched to celebrate the arrival of the camera. (By the way, once you have got to grips with the various commands, you can do all sorts of clever things with the camera, from an "old master" effect, to black and white or negative shots.)
But I still found the whole lengthy process rather satisfying. Instead of turning a camera on and pressing a button, I'd been forced to think about the software behind digital photography and muddle my way through.
And that is why Raspberry Pi is such an interesting and challenging idea. It forces you to explore how computers work and in that process learn some useful skills.
As someone who is anything but a digital native, I find this stuff hard. Hopefully it will be a lot easier for those at whom this is aimed.

Cute... but not likely to win any photography awards
In my view, the packaging and presentation of the Pi have been just a little too challenging so far for many of the target audience: children, their parents and teachers. Once they've assembled the necessary peripherals - a monitor, a mouse, a keyboard, cables - and got the thing booted, it is probably unclear to many what on earth they are supposed to do next.
But this is why the camera is such a useful addition to the project. It may be difficult to get your head around at first but you end up with an output that everyone can understand - photos or videos.
A couple of months ago, I helped judge a competition for schools finding imaginative uses for the Raspberry Pi. There was a lot of ingenuity on display and, now that there's a camera for them to play with, I'm expecting to see a lot more clever Raspberry-flavoured ideas emerging from Britain's classrooms.