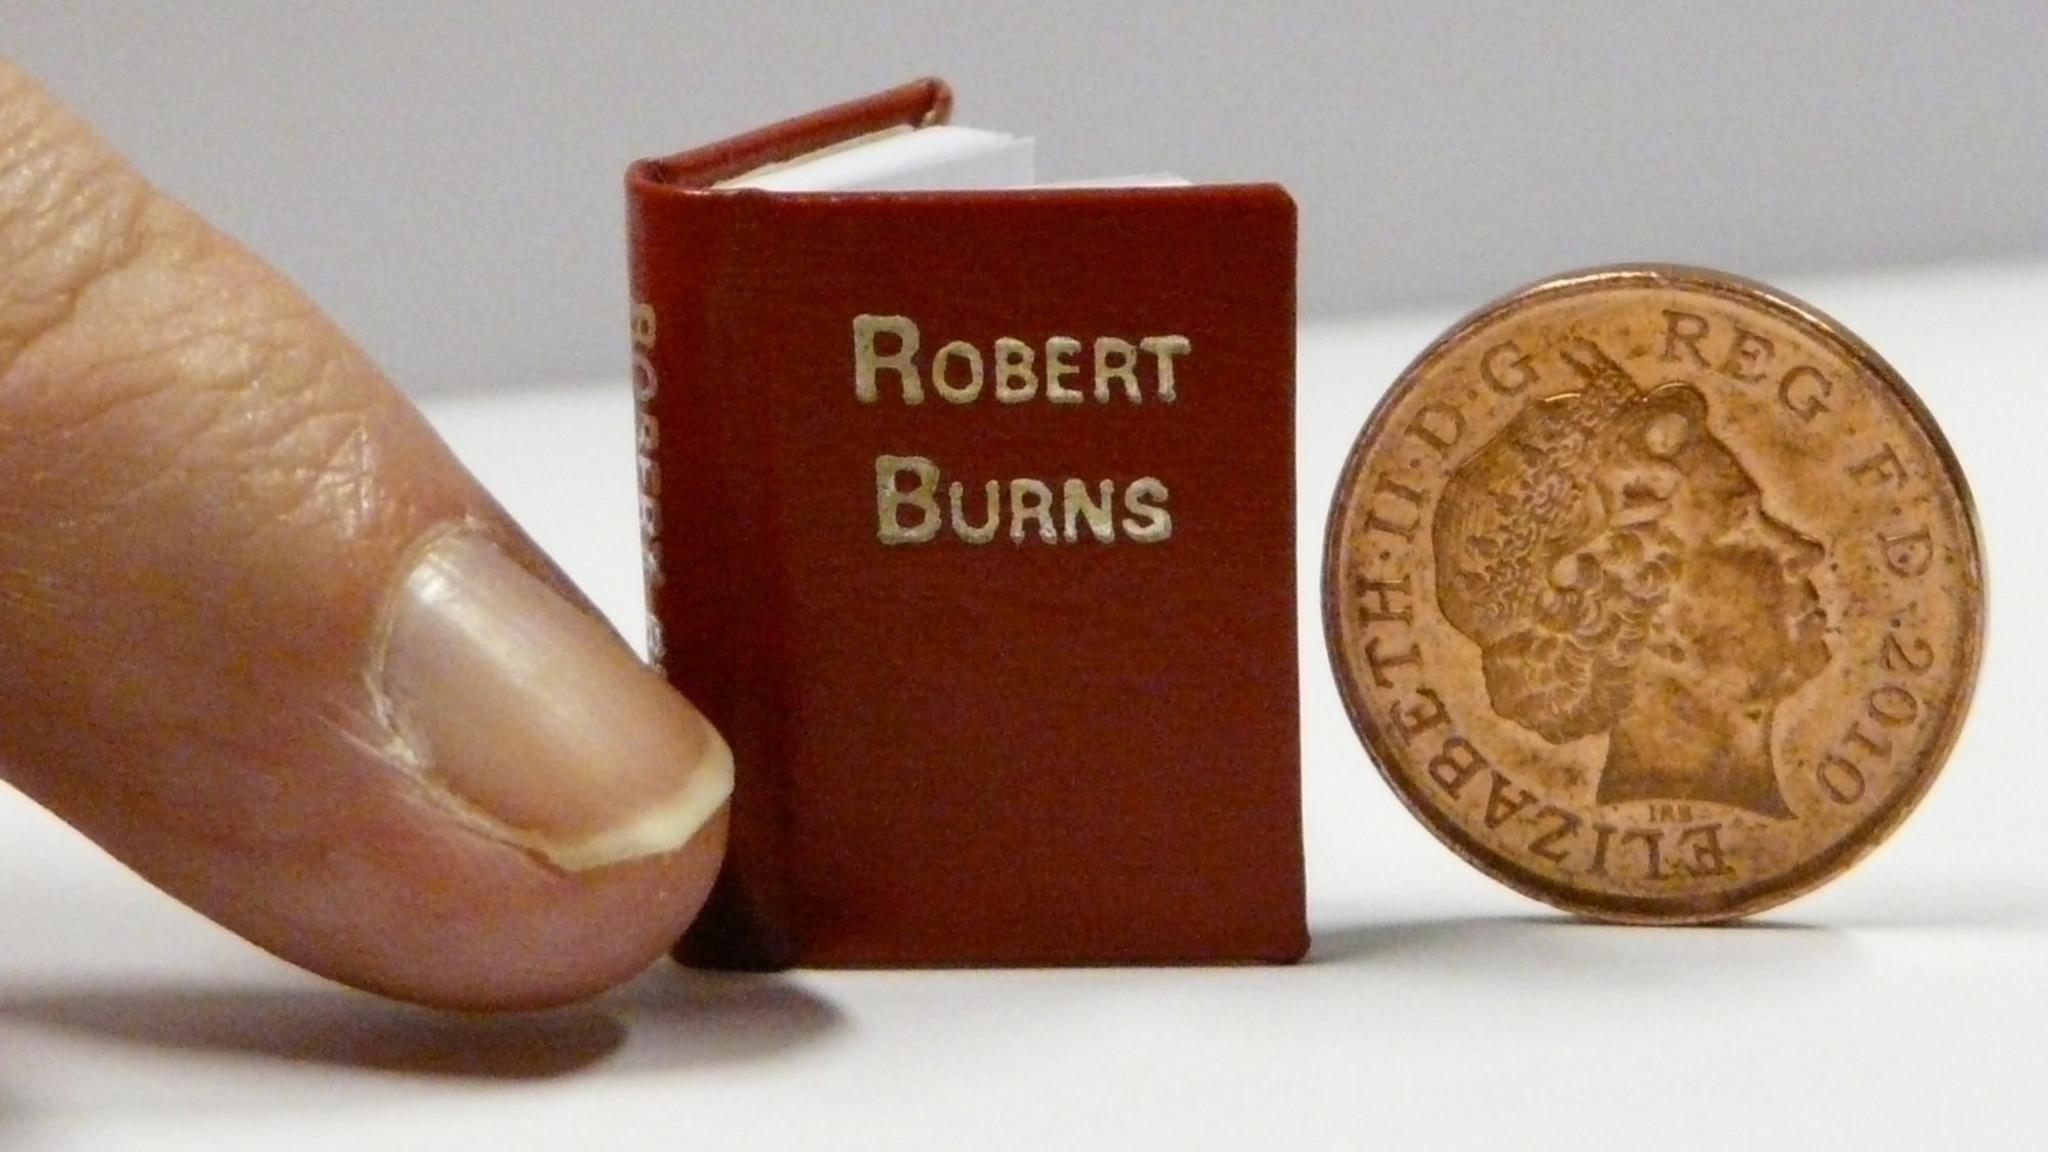
Jacqueline Wilson and Axel Scheffler make miniature books - and you can too!
- Published
- comments
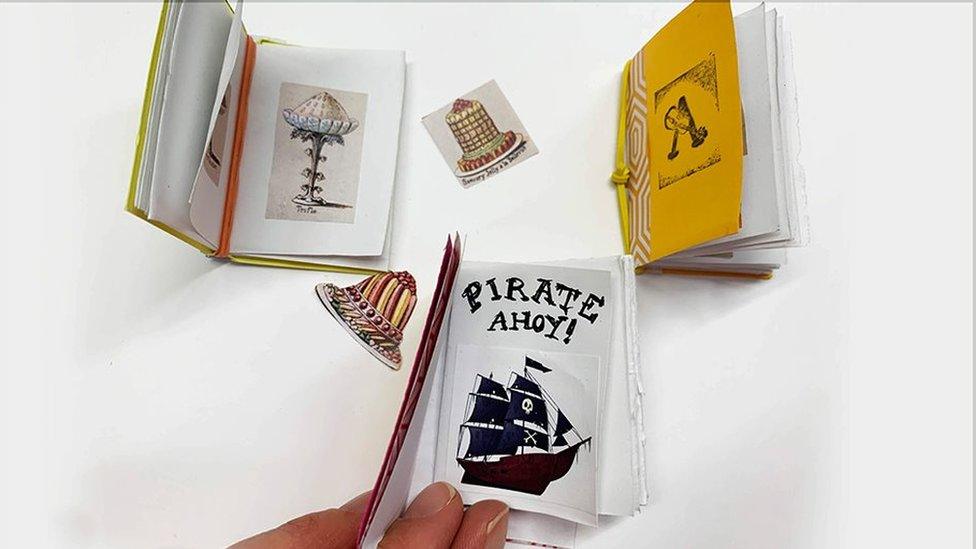
If you've always wanted to be an author but the thought of writing a whole book seems too big a challenge, why not try making a miniature book instead?
The British Library is calling on children to write their own small books, which will form part of an online "National Library of Miniature Books for the toy world".
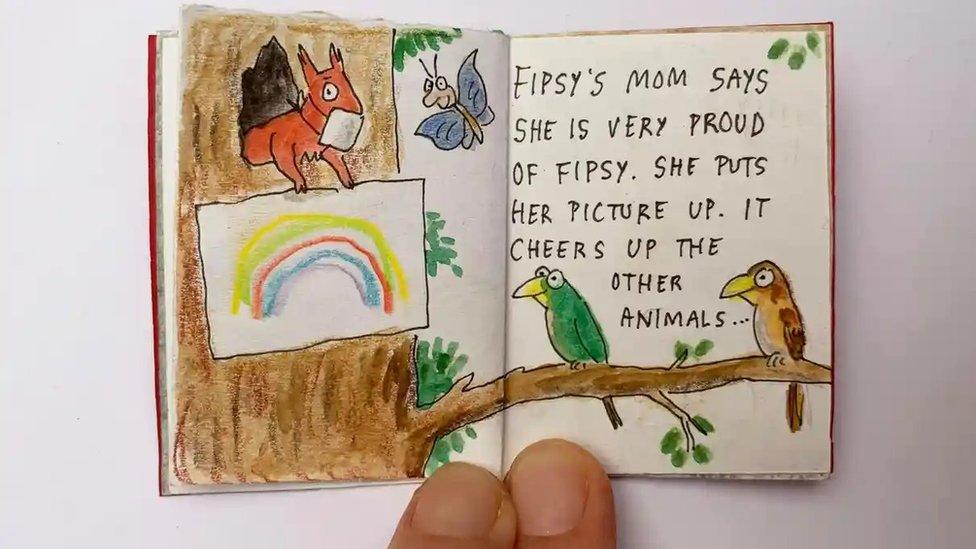
Gruffalo illustrator Axel Scheffler and Dame Jacqueline Wilson have already written their mini books, which are no bigger than a postage stamp.
Axel's is about a little squirrel who can't go to school because of the coronavirus.
Jacqueline's story is about Radish, a little toy rabbit who appeared in her book called The Suitcase Kid.
Where did the idea come from?
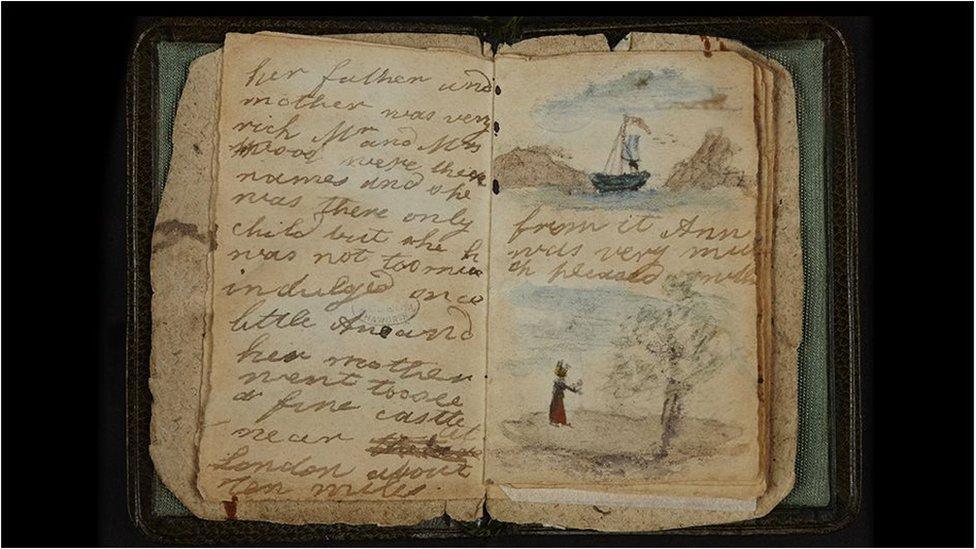
The idea came from the famous authors, the Brontë sisters - Charlotte, Emily, Anne, and Elizabeth - who lived during the 19th century.
When Charlotte Brontë was 12 years old she made a miniature book for her baby sister Anne, and the sisters went on to make lots of other tiny handmade books for the children's toy soldiers.
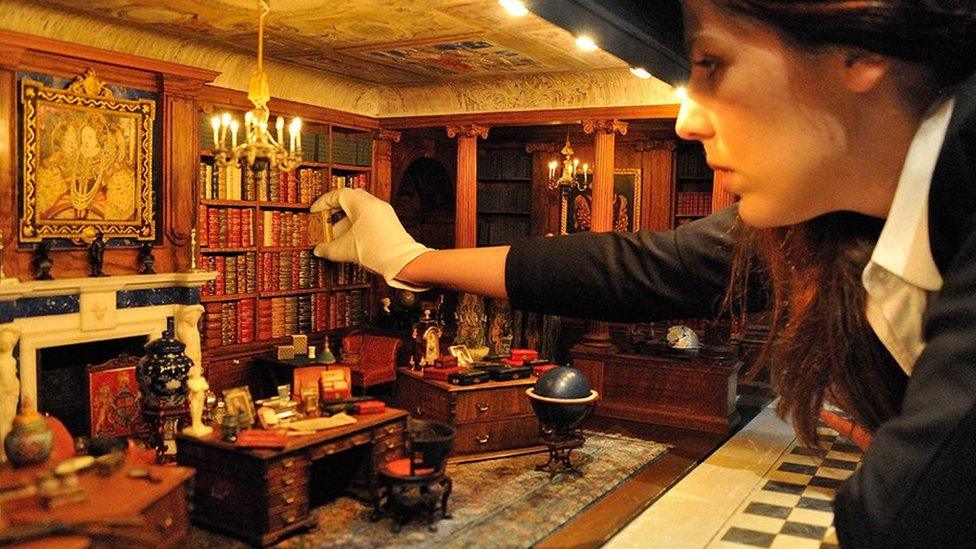
Lots of tiny books were also made in the 1920s for Queen Mary, wife of King George V, who loved collecting miniature items. The mini books were specially made to be put into a dolls' house.
Almost 600 miniature books were made for library of the dolls' house, written by many of the most significant British and Irish authors, poets and journalists of the time including author of Winnie-the-Pooh, A A Milne.
Now it's your turn to make a miniature book for your toys. What would you like to read to them?
Let us know in the comments what kind of book you want to make.
It can be whatever you like - a bedtime story, a factual (real-life) book, a comic-style graphic novel, recipe book, or a sketchbook.
How to make your own miniature book
1. Get your materials
You'll need lightweight paper - 1 sheet of A4 plain or lined paper (this sheet will make two miniature books); Coloured paper, wrapping paper, magazines or newspaper for book covers and spines; Scissors; Small elastic band, string or even a hair pin to bind your book; Pencil; Glue. Get a parent to help with the parts that use scissors and glue.
2. Fold your paper
Fold your A4 paper until you have 8 rectangles.
Cut the paper with scissors, so you have four sets of folded double pages.
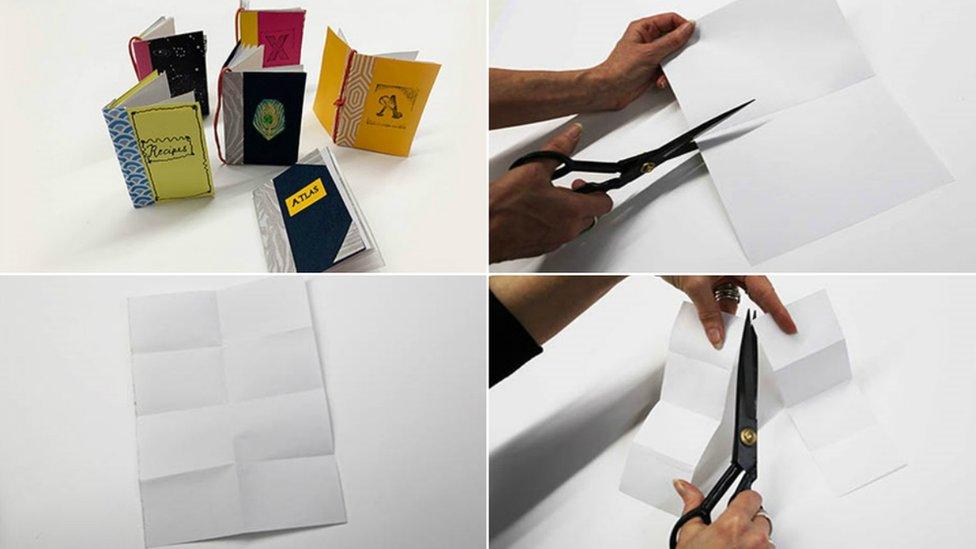
Fold the cut sheets in half, short side to short side. Put the folded pieces inside one another.
This folded block will become the pages of your book.
3. Make your cover boards
Open your soon-to-be-book, place it on the plain side of the paper you have chosen for your cover.
Draw around it making sure to add a little extra height and width so it fully covers the top and bottom.
4. Make a spine strip
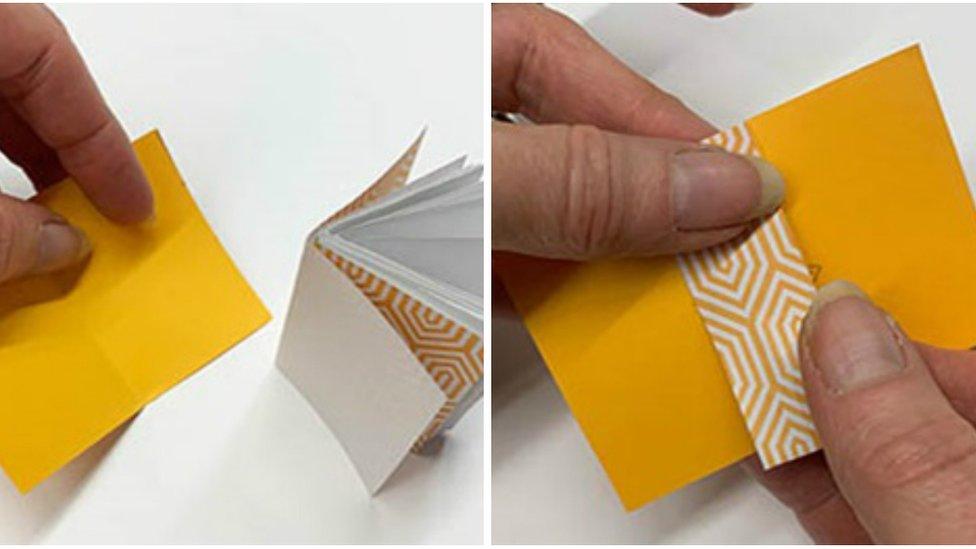
Cut a strip of paper, magazine, wrapping paper etc. the same height as your cover.
Glue this spine strip to the outside cover of your book.
5. Assemble your book
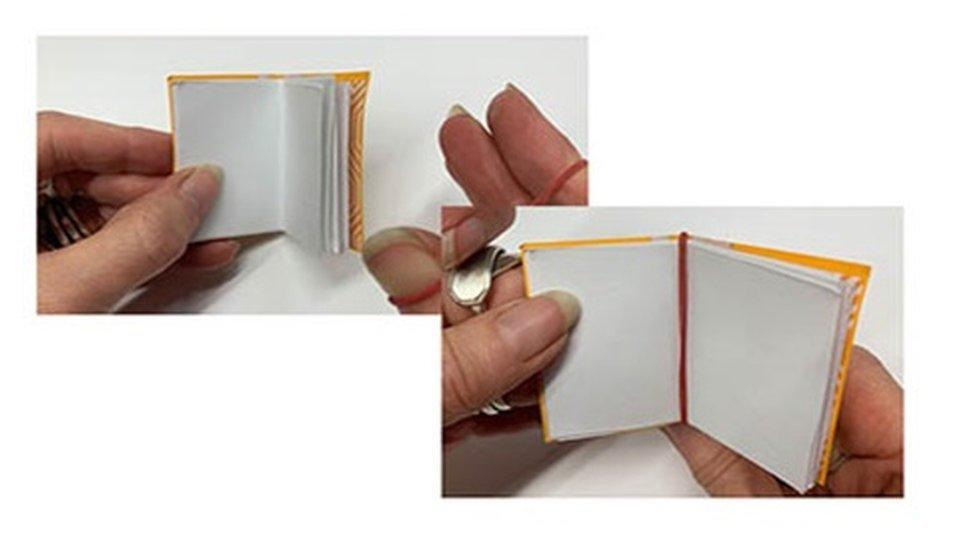
Wrap the cover around the outer page. Open the entire book to the middle page and 'bind' your book together with an elastic band, string or hair pins.
Then you can start writing and drawing in your book!
Let us know what you're going to write and how you get on in the comments.
- Published7 March 2019

- Published18 September 2013
